
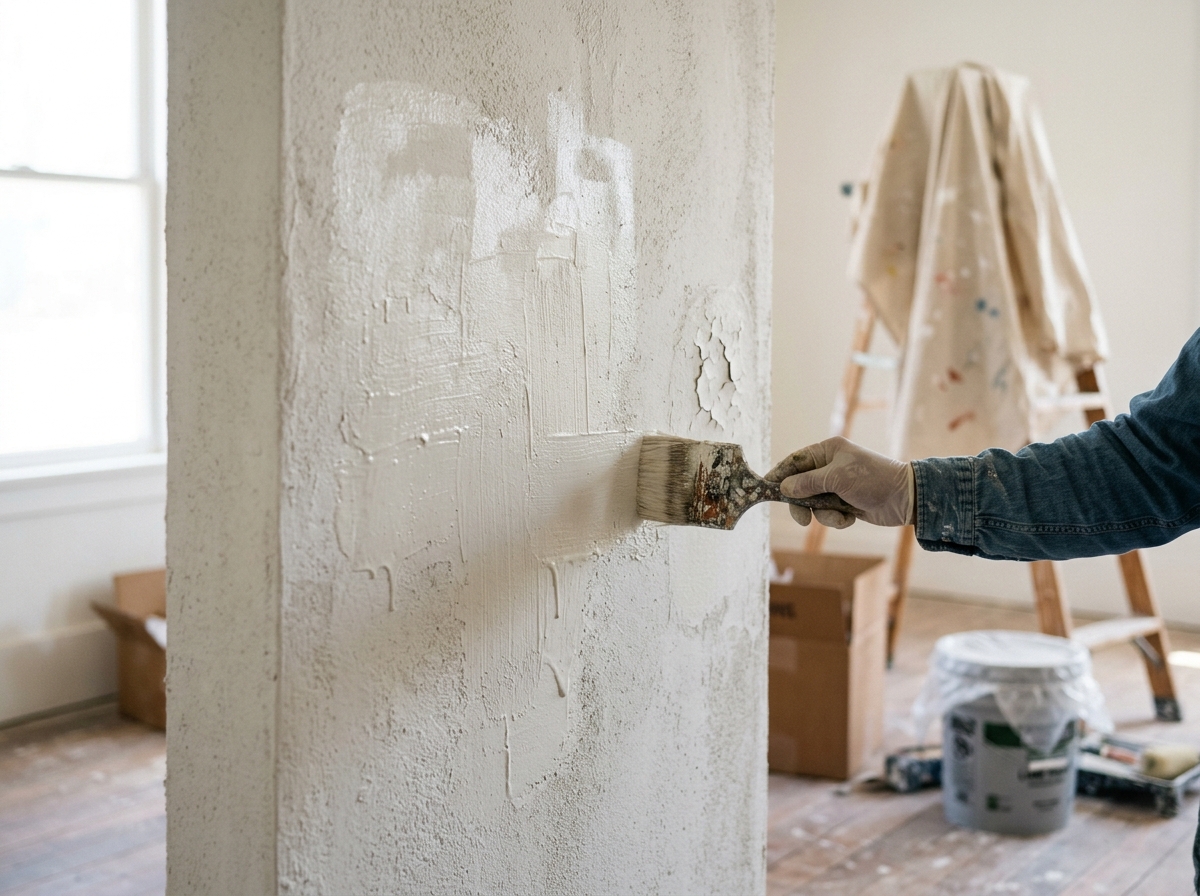
7 Mistakes People Make with Lime painting effects (And How to Avoid Them)
Lime painting effects create stunning, textured finishes that add character and sophistication to interior walls. The technique produces a soft, earthy aesthetic that photographs beautifully and feels distinctly European. But here's what most homeowners don't realize: Lime painting effects are unforgiving. Small mistakes during application become permanent eyesores, and improper preparation can lead to peeling, cracking, or uneven color within months. If you're considering Lime painting effects for your Redding home, understanding these common pitfalls will save you thousands of dollars and months of frustration. Whether you're tempted to DIY or simply want to hire the right contractor, this guide covers the mistakes we see most often.
Mistake 1: Skipping Proper Surface Preparation
The most expensive error homeowners make with Lime painting effects happens before any paint touches the wall. Lime finishes require absolutely clean, properly primed surfaces. This means removing old paint, filling holes, sanding rough spots, and applying appropriate primer.
Many DIY enthusiasts rush this step. They assume the lime coating is thick enough to cover imperfections or that primer is optional. Neither assumption holds true. Lime finishes are typically 2-4mm thick, and while they do provide some texture, they cannot hide underlying damage. Old paint that's peeling or glossy will cause the lime finish to separate and fail within weeks. Unprimed drywall will absorb moisture unevenly, creating dark spots and color variations that cannot be corrected without completely restarting the project.
Professional painters in Redding spend 40-50 percent of their time on preparation. This isn't padding the timeline; it's the foundation for a finish that lasts 10+ years.
Mistake 2: Using Incompatible Base Coats or Primers
Not all primers work beneath lime finishes. Lime is alkaline and highly adhesive, but it needs a compatible substrate to perform properly. Acrylic primers, oil-based primers, and standard drywall primers each behave differently under lime applications.
Some homeowners apply lime directly over latex paint or use whatever primer they have in the garage. The result is poor adhesion, bubbling, and eventual failure. The lime coating may look fine for a few weeks, then suddenly develop pockets where it lifts away from the wall.
The correct primer depends on your substrate (new drywall, previously painted walls, plaster, etc.) and the specific lime product you're using. This is where professional guidance prevents costly mistakes. Contractors who specialize in faux finishes understand these compatibility issues intimately.
Mistake 3: Applying Lime in the Wrong Environmental Conditions
Lime painting effects are moisture-sensitive during application and curing. Temperature, humidity, and air circulation all affect how the finish sets. Applying lime when humidity exceeds 80 percent, or when temperatures drop below 55 degrees Fahrenheit, leads to improper curing and weak adhesion.
Homeowners often apply lime finishes in basements or bathrooms without considering moisture levels. They paint on cool spring mornings without opening windows or running fans. The result is a finish that never fully hardens, remains tacky, or develops mold and mildew spots within months.
Even the time of day matters. Applying lime in direct afternoon sunlight causes the surface to dry too quickly, preventing proper bonding between layers. Professional painters schedule lime applications during optimal conditions and manage site conditions throughout the process.
Mistake 4: Hiring Painters Without Lime Finish Experience
Not every painting contractor can execute lime finishes successfully. The technique requires specific training, proper tools, and understanding of the material's behavior. Some painters have extensive experience with standard Interior painting but no background with specialty finishes.
When homeowners hire based solely on price or general reputation, they often end up with uneven color, visible brush marks, or inconsistent texture. Lime finishes demand a steady hand, proper technique, and experience troubleshooting application challenges in real time. A painter who learned the technique from YouTube videos or a single job isn't equipped to handle variables like substrate variations or environmental factors.
Ask potential contractors about their specific experience with lime finishes. Request references from previous lime projects. Visit completed work if possible. This due diligence prevents hiring someone who will need to learn on your walls.
Mistake 5: Neglecting Sealing and Protection
Many homeowners believe lime finishes are permanent once dry. They're not. Lime finishes in high-traffic areas, kitchens, or bathrooms need protective coatings to resist staining, moisture, and wear.
Without proper sealing, lime finishes absorb water, dust, and stains. They're vulnerable to scuffing in hallways and moisture damage in kitchens. Some people apply temporary solutions like wax or oil, which eventually wear away unevenly and look patchy.
Professional-grade sealers designed for lime finishes provide durable, transparent protection that preserves the aesthetic while extending the finish's lifespan to 15+ years. This is especially important in Redding's variable climate, where temperature swings and occasional moisture issues challenge any interior finish.
Mistake 6: Attempting Repairs Without Professional Help
Lime finishes cannot be easily patched or spot-repaired. If you damage the finish by scuffing or water damage, a simple touch-up won't work. The new lime material won't match the aged, weathered finish around it. Color variation becomes obvious and permanent.
Homeowners sometimes try to sand and repaint small damaged areas. This either makes the damage more visible or spreads it further. The only reliable repair method is having a professional refinish the entire wall or large section, which costs more than proper maintenance would have prevented.
Protecting your lime finish from damage is far more cost-effective than repairing it later.
Mistake 7: Ignoring Maintenance Over Time
Lime finishes develop character and patina over years, which is part of their appeal. But they still require basic maintenance. Dust, cobwebs, and buildup accumulate and dull the finish. Some homeowners never clean their lime walls, assuming the texture hides dirt. It doesn't.
Regular gentle cleaning with a soft brush or dry cloth keeps the finish looking fresh. In kitchens and bathrooms, occasional light wiping with a barely damp cloth removes moisture-related marks. Neglecting this maintenance makes even well-executed lime finishes look tired and aged prematurely.
Lime painting effects deliver remarkable aesthetic value when executed properly. The mistakes outlined here are entirely preventable. Start with thorough surface preparation, hire experienced contractors who specialize in specialty finishes like venetian plaster applications and graining and marbling applications, and commit to basic maintenance over time. If you're in Redding and considering Lime painting effects for your home, American Home Painting brings years of experience with specialty finishes and a track record of long-lasting results. We handle every step correctly so you can enjoy a beautiful, durable finish for years to come. Contact us today for a consultation.