
7 Cabinet Painting Mistakes Redding Homeowners Make (And How to Avoid Them)
Cabinet painting and refinishing seems straightforward until you're halfway through your kitchen project and realize the finish is peeling, the color looks nothing like the sample, or you've spent three weekends on prep work that a professional could have done in a day. Cabinet refinishing in Redding is one of the most popular DIY projects homeowners attempt, yet it's also one of the easiest to get wrong. The difference between a cabinet paint job that lasts 10 years and one that fails in two years often comes down to avoiding common mistakes. Whether you're considering DIY cabinet painting or hiring a contractor, understanding these pitfalls will save you money, time, and frustration.
Skipping Proper Surface Preparation in Redding Kitchens
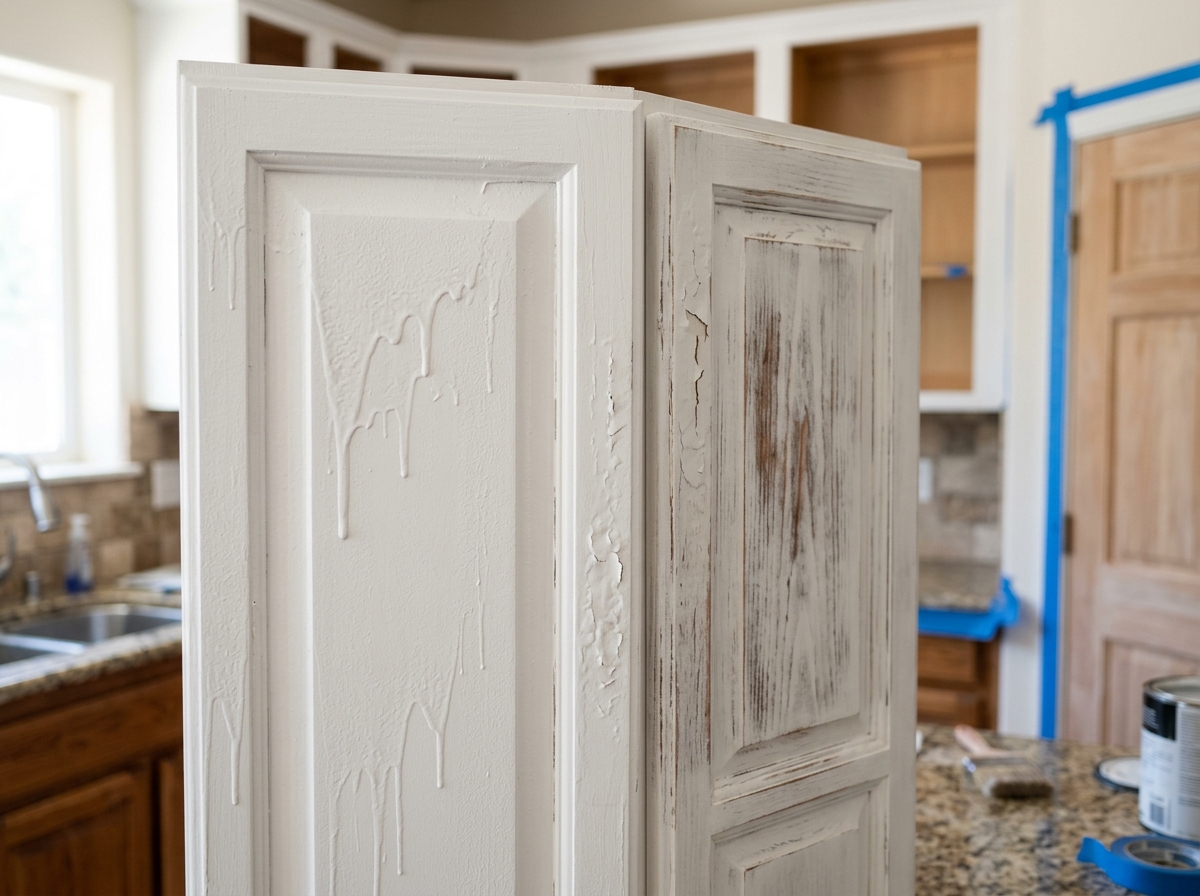
The biggest mistake homeowners make with cabinet painting and refinishing is rushing through prep work. Many people see the cabinet doors, assume they just need a quick sand and paint, and get started.
Reality is different. Kitchen cabinets in Redding homes accumulate years of grease, dust, and cooking residue. If you don't properly degrease the surface, paint will sit on top of the grime and peel within months. Professional cabinet refinishing requires thorough cleaning with TSP (trisodium phosphate) or degreaser, followed by sanding to create surface texture for paint adhesion.
The sanding step itself trips up many DIYers. Light sanding with 120-grit paper isn't enough on glossy finishes. You need to sand down to bare wood or at least dull the existing finish completely. This takes time. Professionals typically sand cabinets in stages, moving from 80-grit to 150-grit to ensure proper adhesion. Skipping this step is why cabinet paint fails prematurely.
Choosing the Wrong Paint Type for Cabinet Refinishing
Not all paint is suitable for cabinet painting and refinishing. This is where many Redding homeowners make an expensive mistake.
Using basic interior latex paint on cabinets will result in a soft finish that scratches easily and doesn't hold up to kitchen use. Cabinet doors open and close hundreds of times per year. They're exposed to moisture from cooking, temperature fluctuations, and contact with hands, dishes, and appliances.
Professional-grade cabinet paint must be either high-quality acrylic latex formulated for cabinets or conversion varnish (a durable two-part coating). Some contractors use water-based polycrylic over latex, which adds durability. Choosing budget paint from a big-box store guarantees disappointing results within a year or two.
Not Priming Properly Before Painting
Primer exists for a reason, yet many DIYers skip it or apply it too thinly.
If you're painting over existing finish, you need a bonding primer that adheres to the old surface. If you're going from dark to light colors, you need primer to prevent the old color from showing through. If there are stains or water marks on the wood, primer blocks them from bleeding through the topcoat.
Professional cabinet refinishing in Redding always includes primer as a separate step. Many homeowners try to save time by using paint-and-primer-in-one products. These products work for walls, but cabinet surfaces need better adhesion and stain blocking than combination products provide.
Applying Paint Too Thickly or Too Thinly
Finding the right paint thickness is an art that takes practice. Too thick, and you get drips, runs, and uneven coverage that looks amateur. Too thin, and you need excessive coats, wasting time and money while still ending up with inadequate protection.
Professional painters use spray equipment for cabinet refinishing because it applies consistent, thin coats that level properly. Brush application works but requires skill to avoid visible brush strokes. Many DIYers either load their brushes with too much paint or apply paint so sparingly that they need five coats instead of three.
The right approach involves multiple thin coats with proper drying time between coats. This typically means 24 to 48 hours between coats for quality cabinet paint, not the 4 hours indicated on the can. Rushing this step compromises the finish.
Neglecting Hardware and Masking Details
Cabinet hardware, hinges, and hinges need careful attention during cabinet painting and refinishing projects. Some homeowners remove hardware, which is good. Others leave it in place and paint around it, creating messy results and paint buildup on functional parts.
Proper masking requires painter's tape on hinges, handles, and any adjacent surfaces. Many DIYers use regular masking tape, which doesn't adhere well to cabinet surfaces and allows paint bleed-under. Professional-grade painter's tape costs slightly more but prevents frustration.
Additionally, hinges and hardware should be removed before painting starts. This allows you to paint edges and recesses properly. New hardware is relatively inexpensive and often looks better than old hardware anyway.
Ignoring Ventilation and Moisture During Drying
Kitchens in Redding can be humid, especially when cooking. Painting cabinets without proper ventilation creates a slow-drying environment where dust settles on wet paint and finish quality suffers.
Professional cabinet refinishing requires controlled conditions: good air circulation, moderate temperature (65 to 75 degrees), and humidity below 50 percent. Many homeowners paint on humid days or don't open windows because they want to contain the smell. This backfires when the finish doesn't dry properly and stays tacky or develops a dull appearance.
If you're painting during warmer months, open windows and use fans. If humidity is high, wait for better weather. Painting cabinets in your kitchen during normal use guarantees dust contamination and poor results.
Failing to Maintain the Finish After Painting
Even perfectly executed cabinet painting and refinishing requires maintenance. Many homeowners assume that once paint is dry, the job is done.
The finish actually continues to cure for 30 days. During this time, you shouldn't expose cabinets to moisture, heat, or heavy use. Many kitchens in Redding are used constantly, making this difficult. But protecting the finish during the curing period determines whether it lasts 5 years or 15 years.
After the curing period, cabinets need gentle cleaning with soft cloths and mild soap. Abrasive cleaners, scouring pads, and harsh chemicals damage the finish. Spills should be wiped immediately to prevent water marks and damage.
Cabinet painting and refinishing is achievable as a DIY project, but it requires attention to detail, quality materials, and proper technique. The mistakes outlined here represent thousands of dollars in failed projects and unnecessary frustration for Redding homeowners. If you're uncertain about tackling this project yourself, professional cabinet painting and refinishing delivers results that last. The investment in proper preparation, quality materials, and skilled application pays for itself in durability and appearance. Whether you choose to DIY or hire a professional, avoiding these common mistakes ensures your cabinets look great for years to come.